Android · iPhone · Lathe & Mill
Post the program at the machine.
SZ Tools CNC writes ready-to-run G-code on your phone, then plays it back in
3D so you can watch the cut before the machine makes it. Turning, milling, live
tooling and a 4th axis; your tool and jaw libraries; Fanuc or Haas output; and a
clean .nc file you can drop straight on a USB stick.
On Google Play and the App Store.
N10 G21 G40 G99N20 T0101 (80 DEG DNMG - ROUGH)N30 G50 S2200N40 G96 S180 M03N50 G00 X52.0 Z2.0 M08N60 G71 U2.0 R0.5N70 G71 P80 Q140 U0.4 W0.1 F0.25N80 G00 X20.0N90 G01 Z0 F0.12N100 X24.0 Z-2.0N110 Z-30.0N120 X38.0N130 Z-55.0N140 X52.0N150 G00 X200.0 Z150.0 M09N160 M30
N10 · Operations
What it posts
Lathe
- Profile (OD / ID / Face)
- Grooving
- Drilling and tapping
- Threading
- Parting off
- Notes — your own comments
Lathe · live tooling
- Axial and radial drilling and tapping
- Pockets on the face and on the OD
- Axial and radial thread milling
- Angular holes and slots
- Chamfers on the face or the OD
- C axis or Y axis
Mill
- Facing
- Pocketing — rectangle, circle or a drawn shape
- Contouring — closed or open profiles
- Drilling and tapping
- Thread milling
- Chamfering
- 4th axis — index, or drill round the part
- Notes — your own comments
N20 · Setup
Built around how a shop actually works
Your own libraries
Tools — live tools included — jaws and fixtures, and an editable cutting-materials table. Set them once; they follow you to every job and every device.
Fanuc and Haas output
Pick the control and the program posts in the dialect it expects — not a generic file you have to hand-edit at the machine.
Export to USB
Save the .nc file anywhere on the phone, copy it to a stick, load it. Your programs stay on your device and are never uploaded.
N25 · Walkthrough
The whole job, in the order you'd do it
Step 01
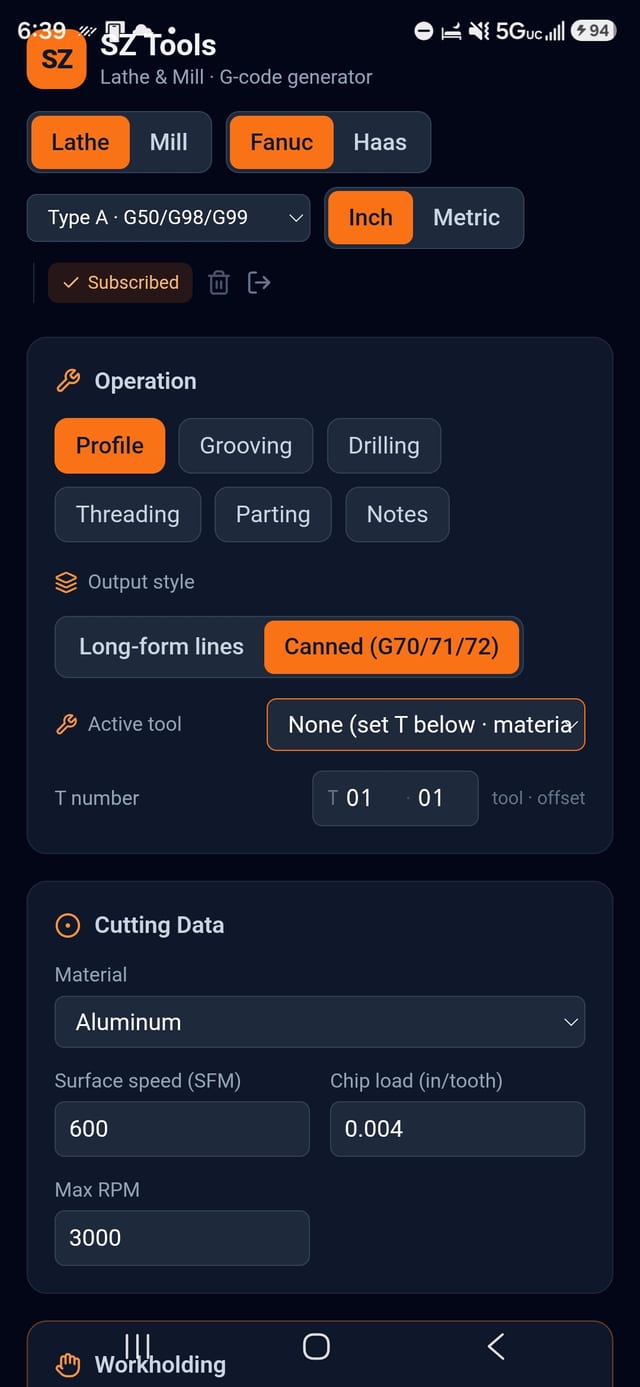
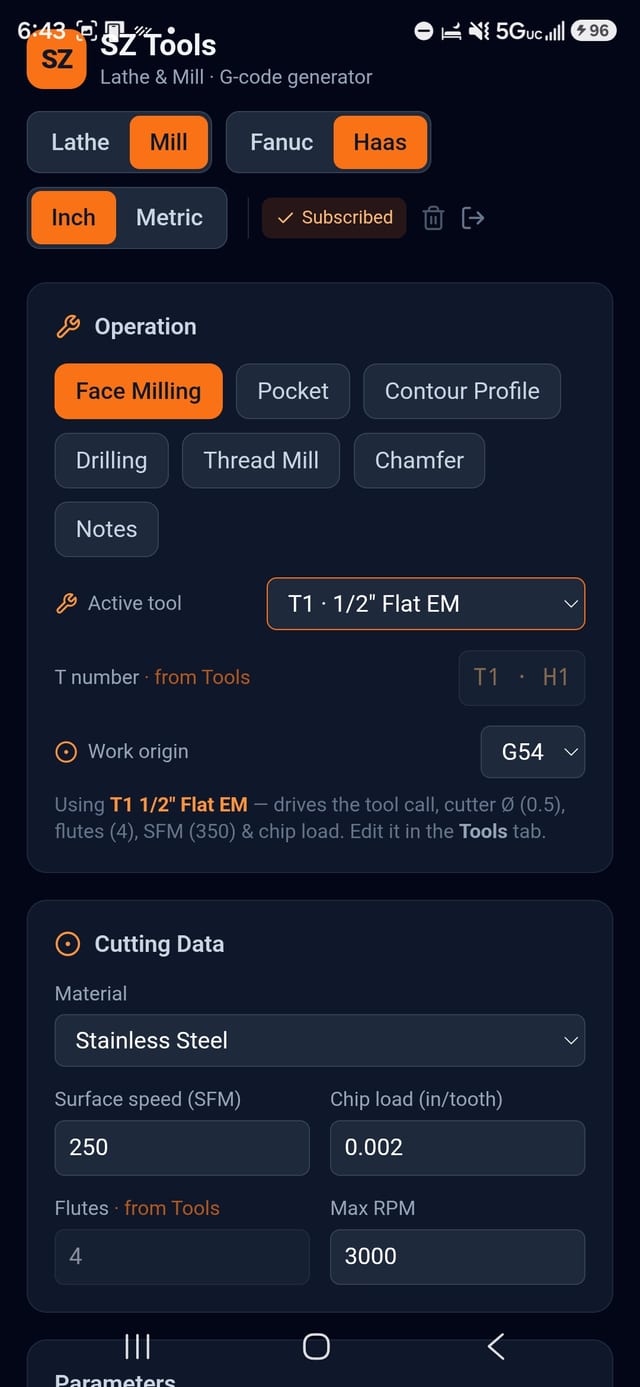
Set the machine, pick the operation
Lathe or mill. Fanuc or Haas. Inch or metric. Then the operation — on the lathe: profile, grooving, drilling, threading and parting, plus the live-tool operations when your lathe has driven tools. On the mill: face milling, pocketing, contour profiling, drilling, thread milling and chamfering, plus a 4th axis.
Everything below the selector changes to suit it, so you are never scrolling past fields that don't apply. Switch machines at the top and the operations, parameters and speeds all follow.
Step 02
Call a tool, and the cutting data comes with it
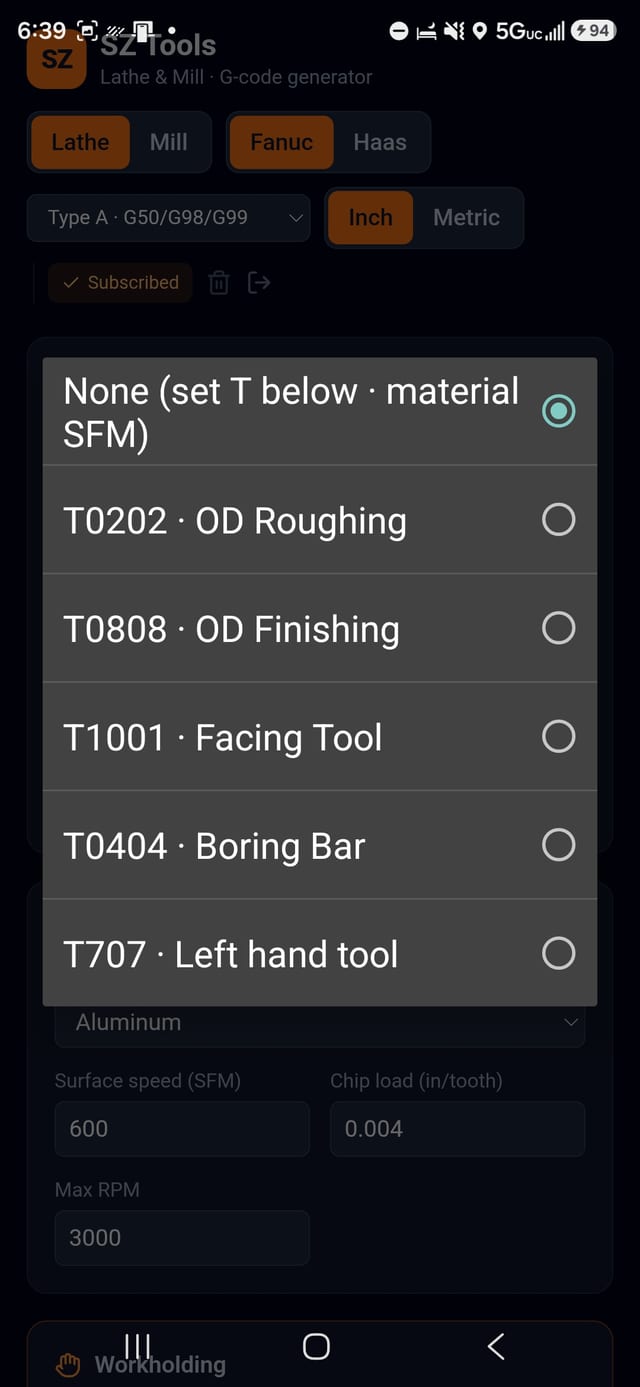
The tool list is filtered to the operation you are running: run a profile and you see turning, facing and boring tools; run a live-tool drill and you see your driven drills and taps. The tool drives the turret call, the speeds and — on drills and cutters — the diameter.
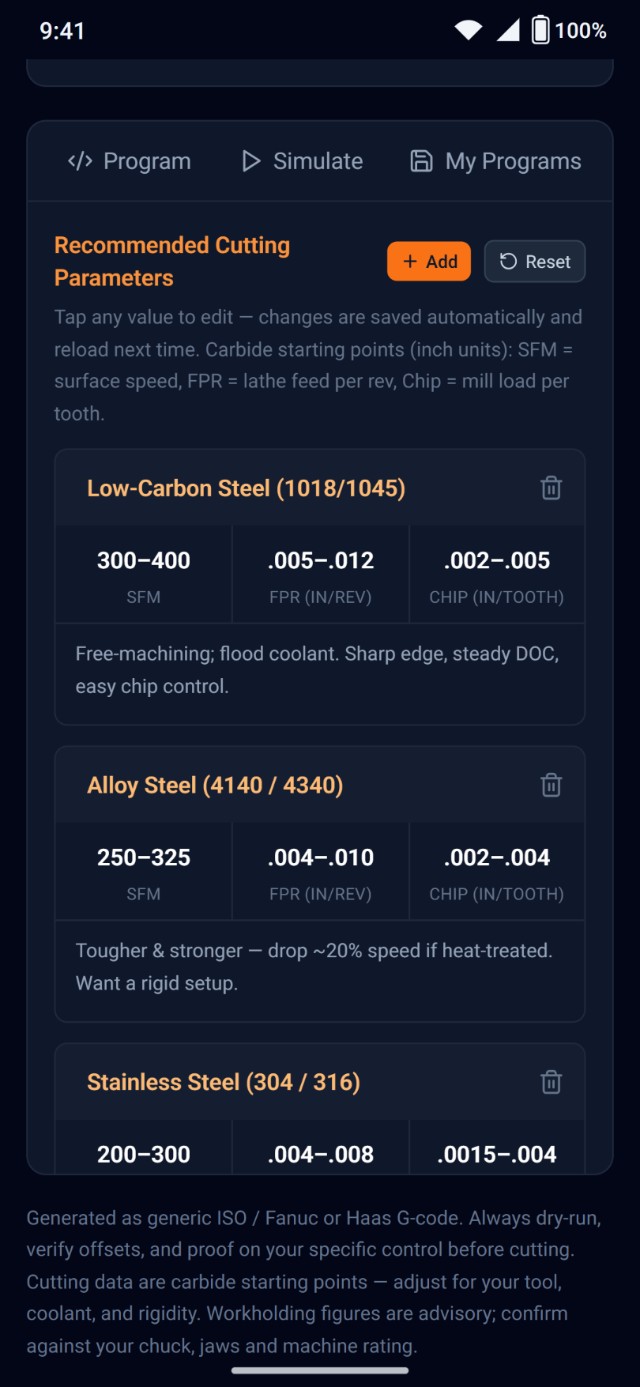
Choose the material and the surface speed and chip load come with it, carbide starting points from aluminum to titanium, in a table that is yours to edit: tap a value, it saves itself and reloads next time.
Step 03
Dial the cut, then stack the operations
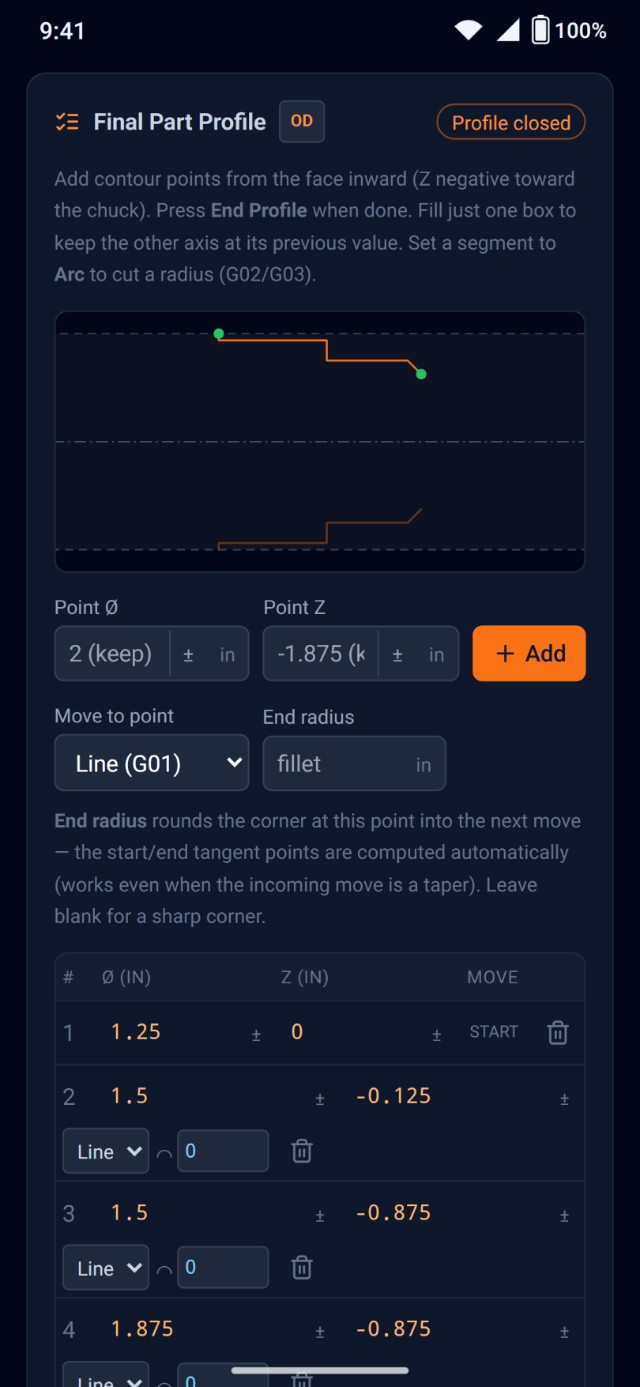
Draw the finished profile point by point, with tapers, arcs and corner radii, then set the roughing depth, the finish stock and the feeds — the numbers a machinist would write on the setup sheet, in the order they'd write them.
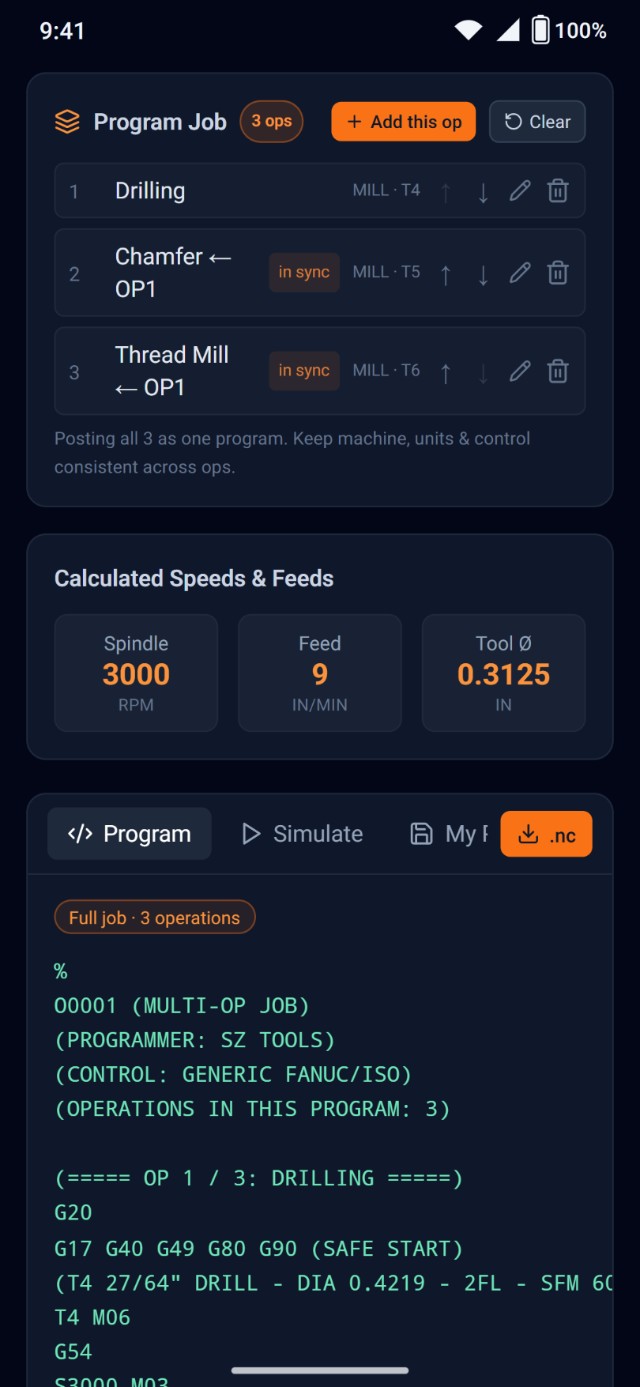
Add each op to the job, reorder it, edit it. A whole part posts as one numbered program, tool-changed in sequence with an optional stop between operations — and a Notes op drops your own setup comments wherever you queue it.
Step 04
Live tooling on the lathe New
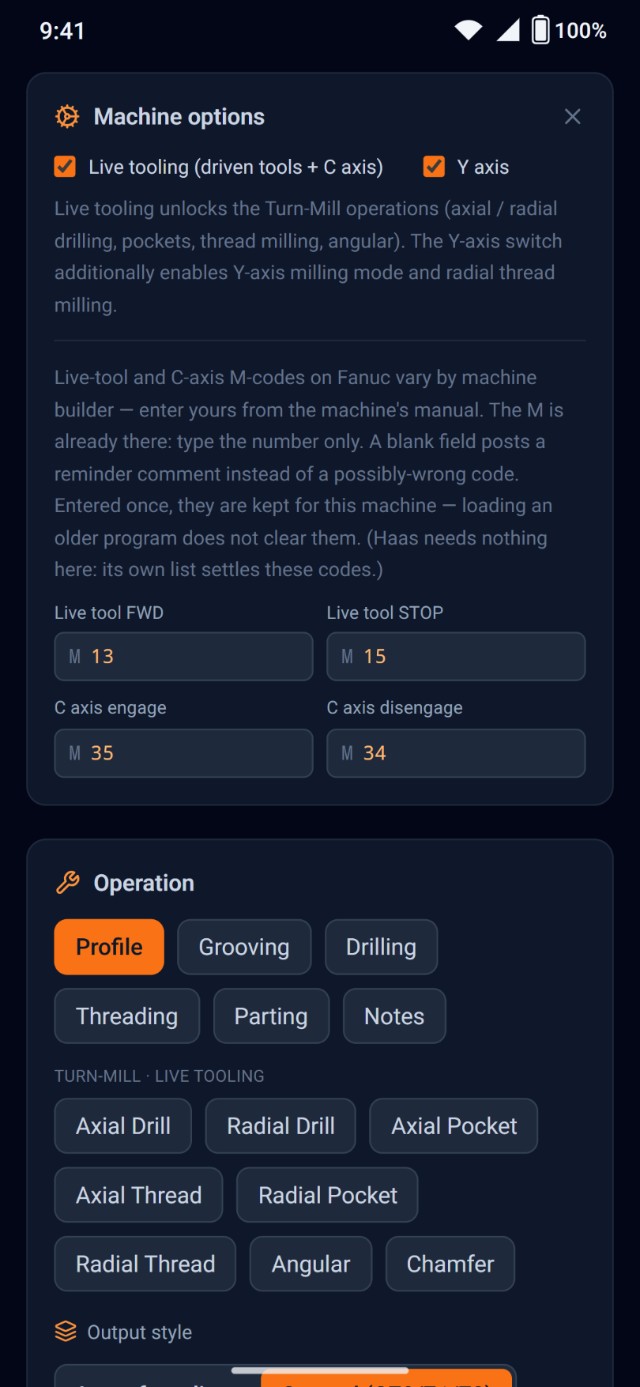
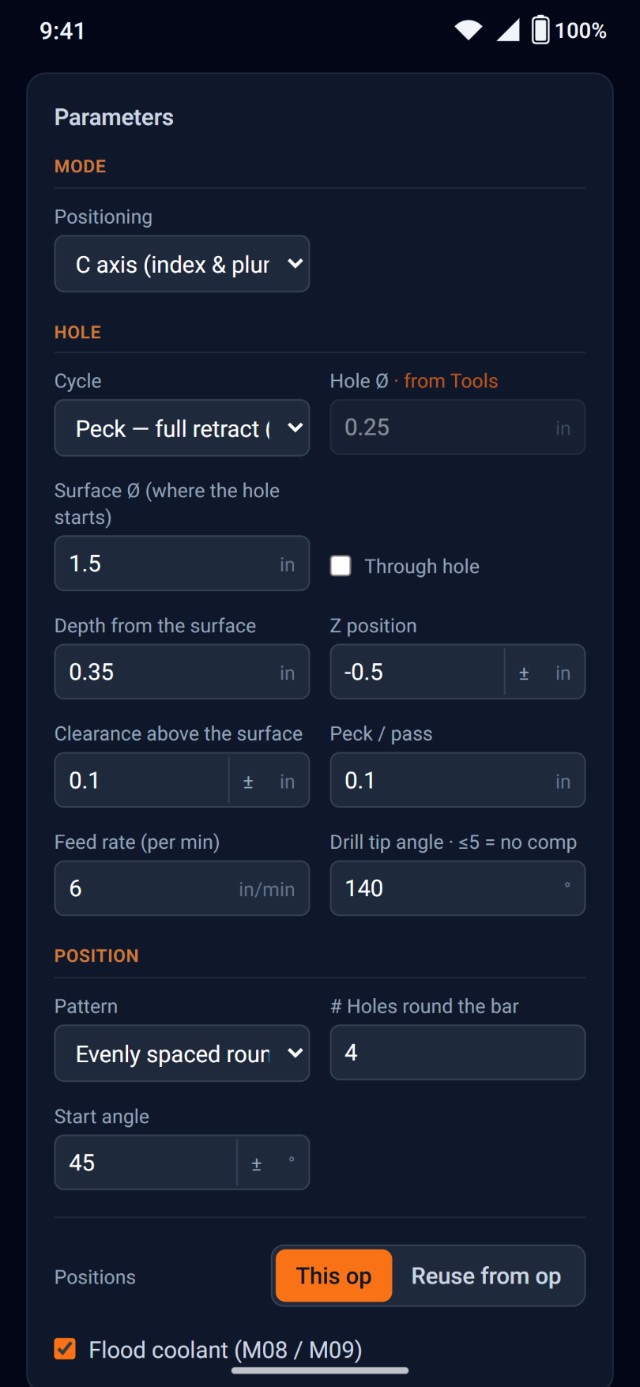
Switch on live tooling in the machine options — and the Y axis, if your lathe has one — and the turn-mill operations appear: axial and radial drilling and tapping, pockets on the face and on the OD, thread milling, angular holes and slots, and chamfers.
They place their features round the bar as a bolt circle, an angle list or a single position, on the C axis or the Y axis, and post with your machine's own live-tool and C-axis M-codes.
Step 05
A 4th axis on the mill New
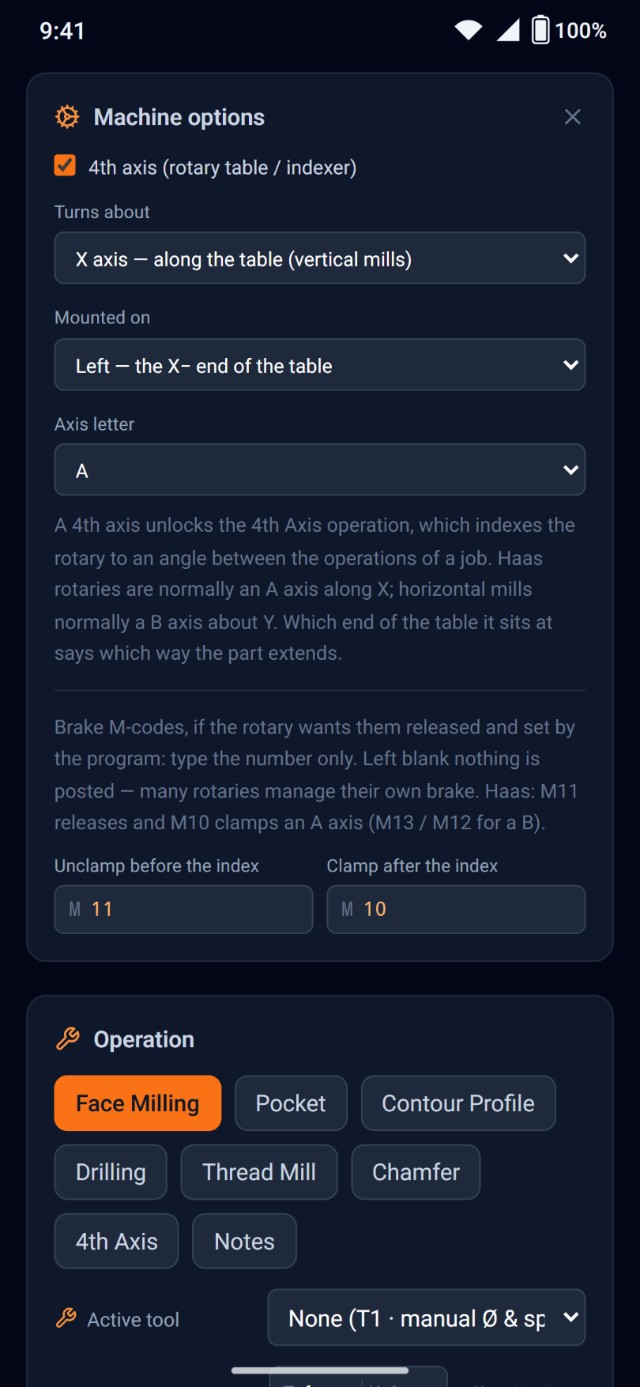
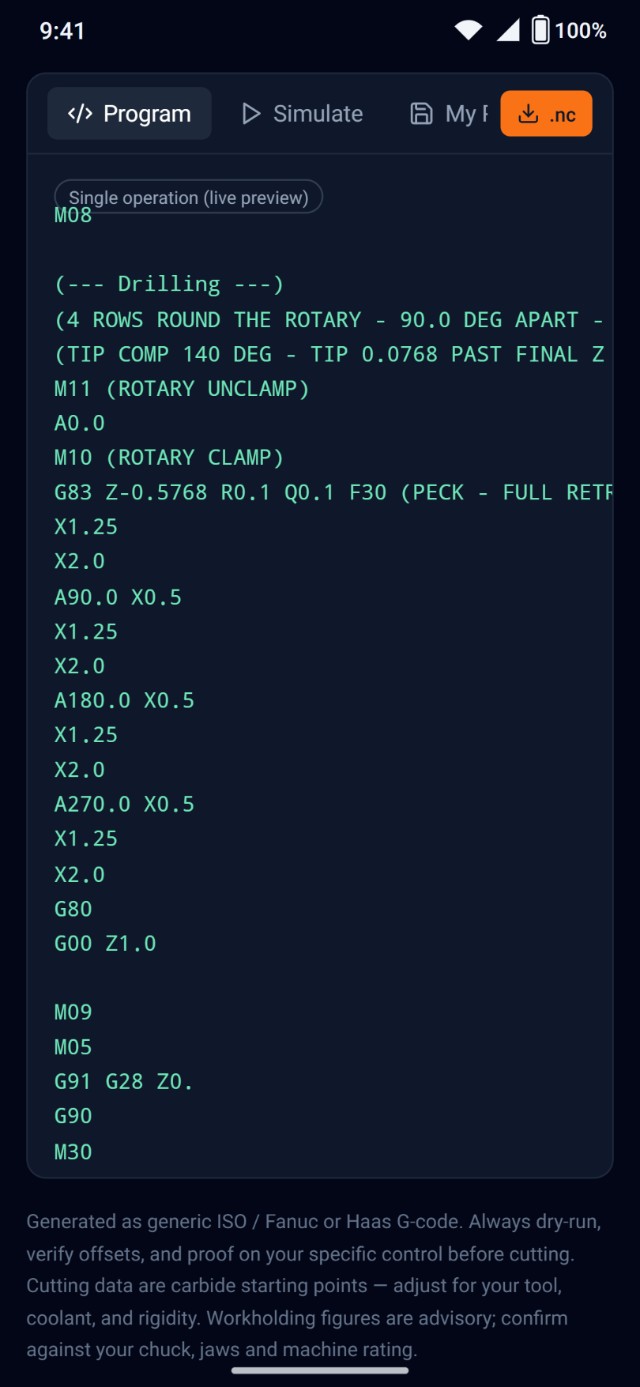
Tell the app your mill has a rotary — the axis it turns about, its letter, the end of the table it sits at, and its brake codes if it wants them — and the 4th Axis operation indexes it between operations.
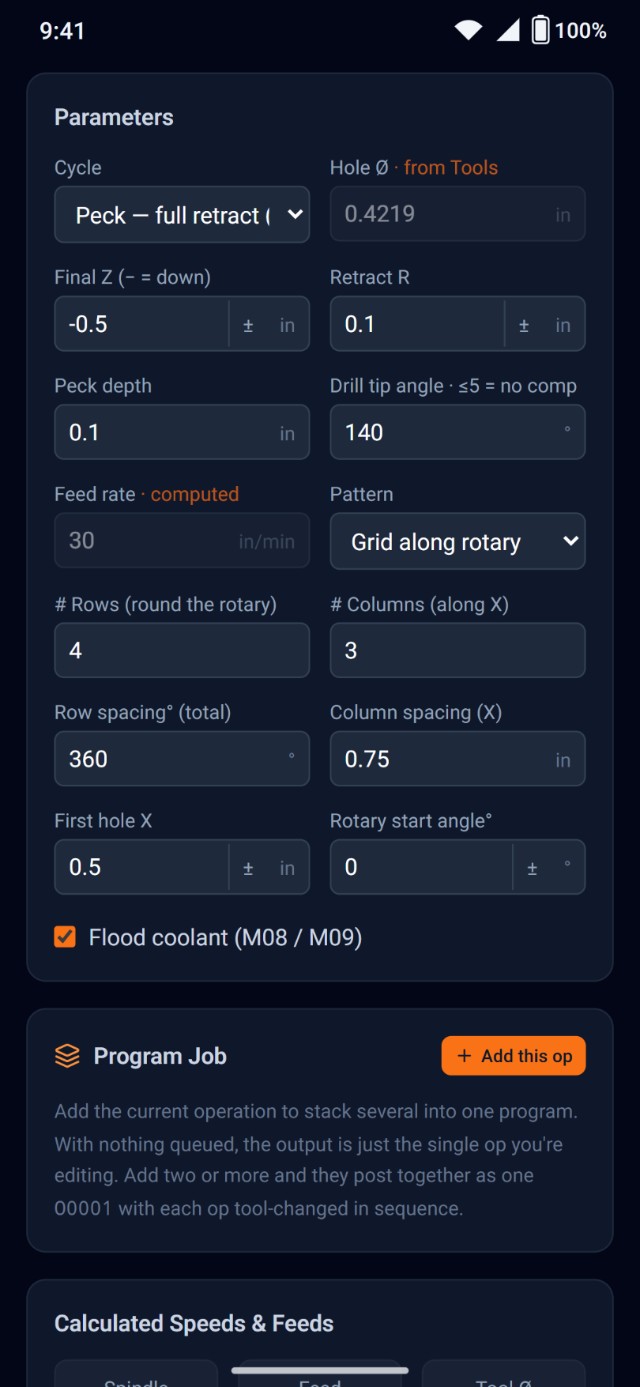
Drilling can run a grid round the part: one index, then the cycle holds from row to row, each row a single block with the rotary angle and the first hole.
Step 06
Draw the shape, pocket it or profile it New
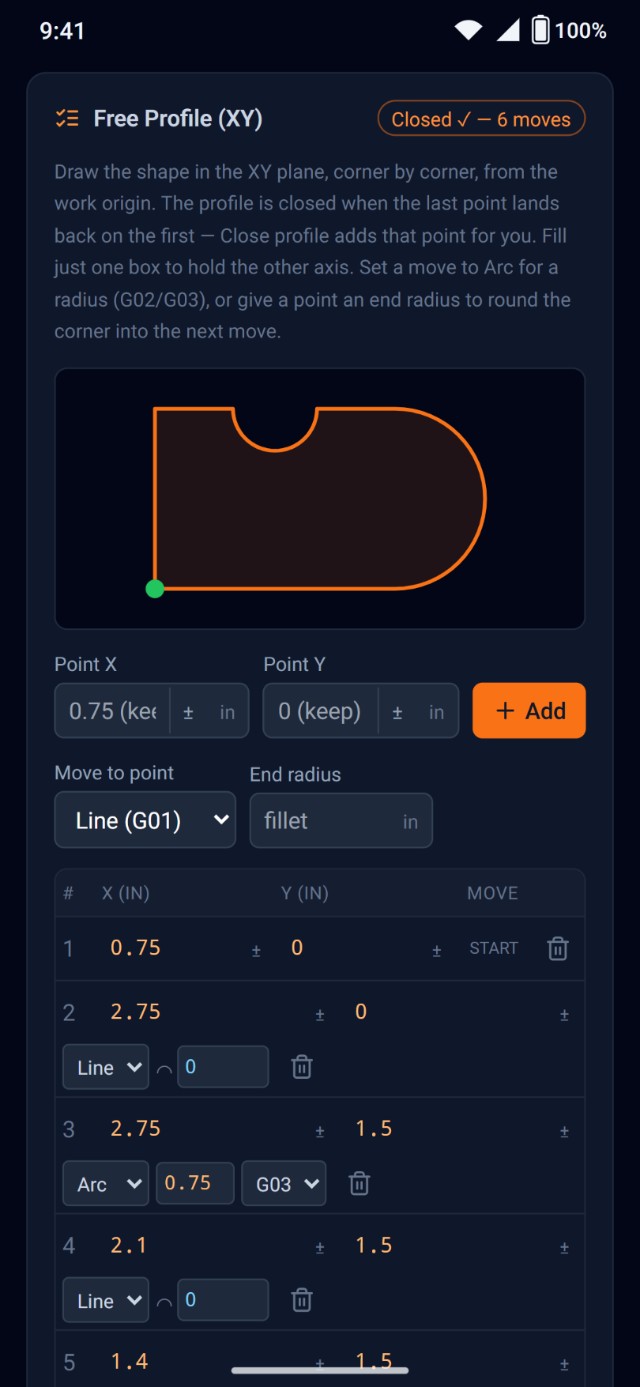
Draw a pocket or a contour in XY, line by line, with arcs and corner radii — the profile closes itself when the last point lands on the first. Or leave it open and the cutter follows the line you drew.
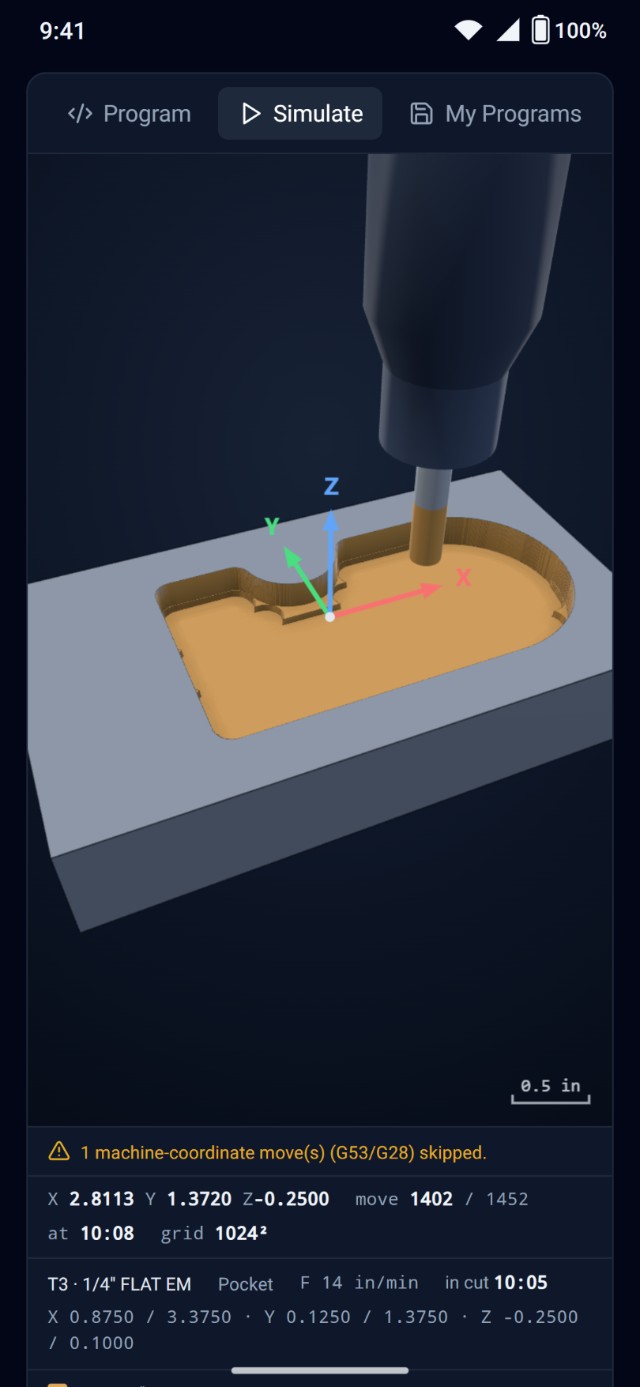
The pocket roughs out from the inside, ramps into every cut and finishes the walls to size.
Step 07
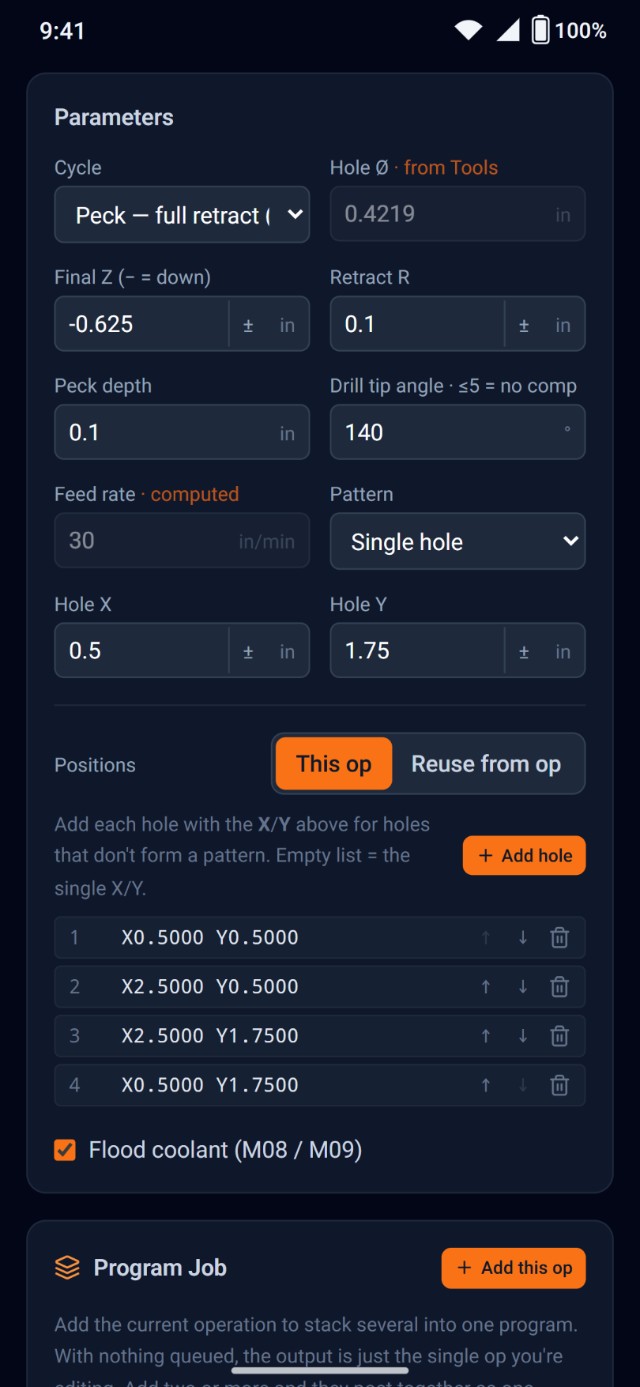
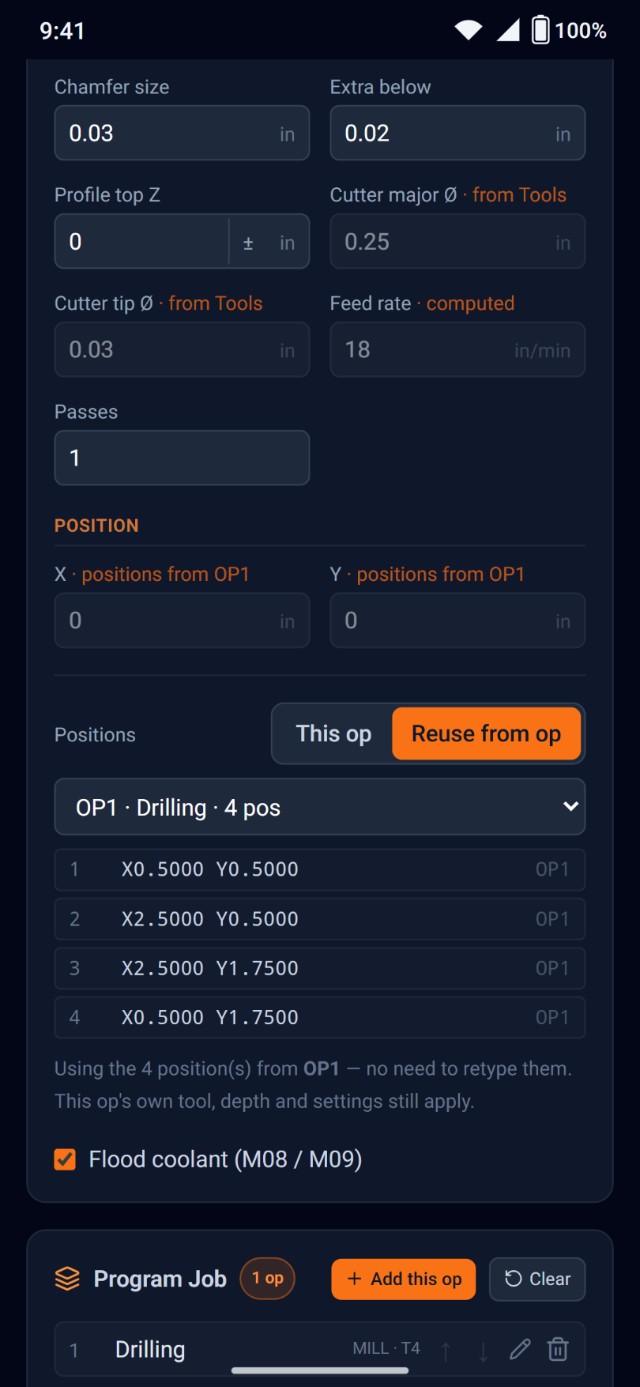
Type the holes once New
Enter the hole positions in the drilling op. The chamfer and the thread mill take them from there with Reuse from op — shown locked, labelled with the op they came from, never typed twice.
Move the holes later and the job flags every op that follows them, with an Update that brings them back in line.
Step 08
Read the code before it leaves your hand
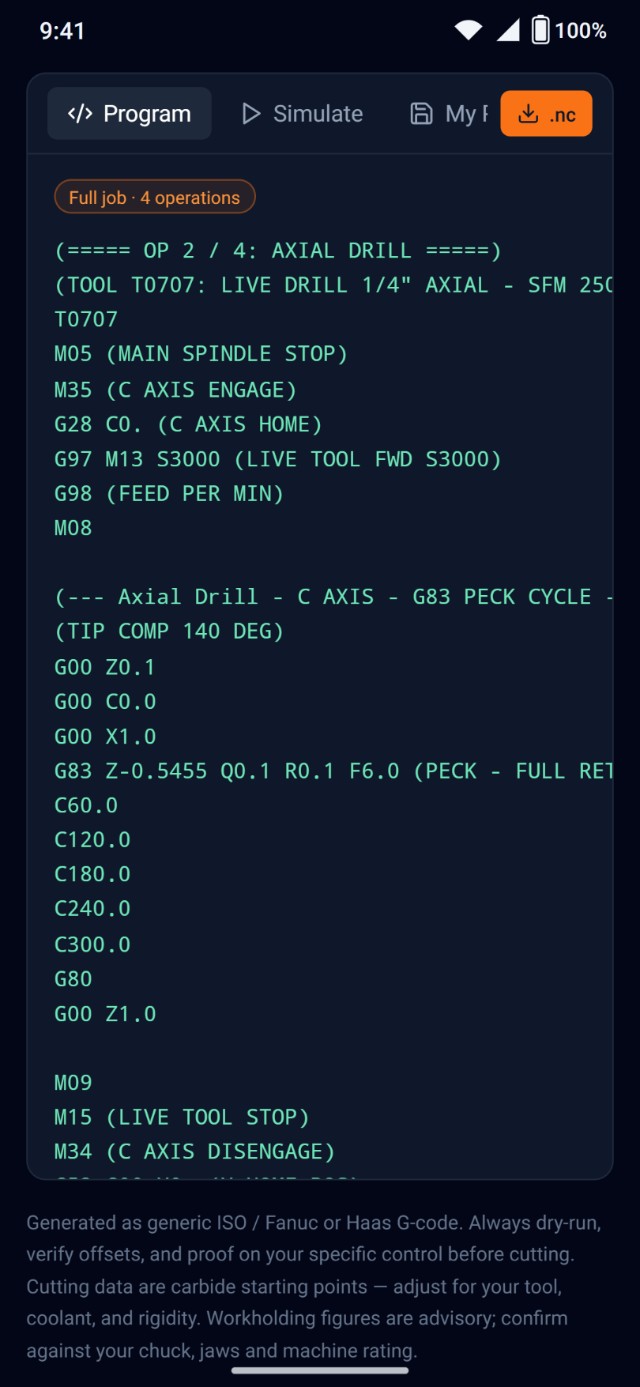
The posted program is on screen as you work, updating with every value you change. Canned cycles where the control expects them — G71/G72 roughing, G76 threading, G83 pecking, polar and cylindrical interpolation for the live tools — or long-form lines if you'd rather see every move.
Comments are short and plain ASCII, so an older control shows them as written.
Step 09
Watch it cut in 3D, before the machine does New
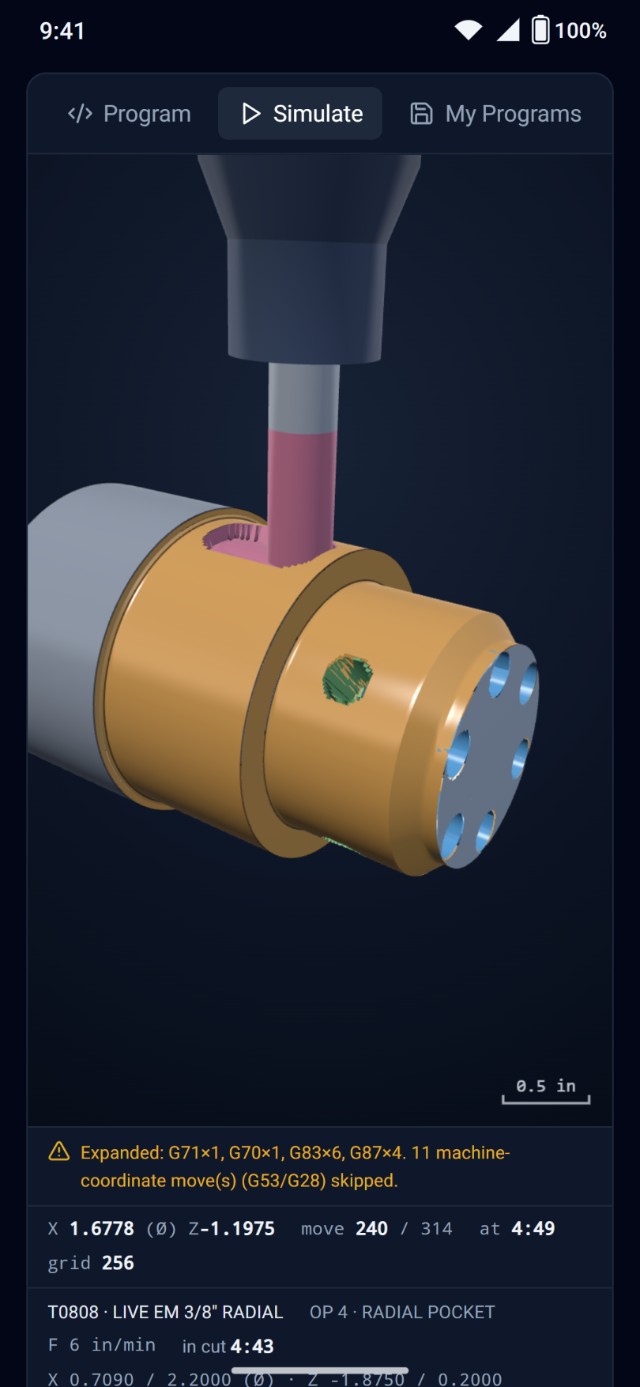
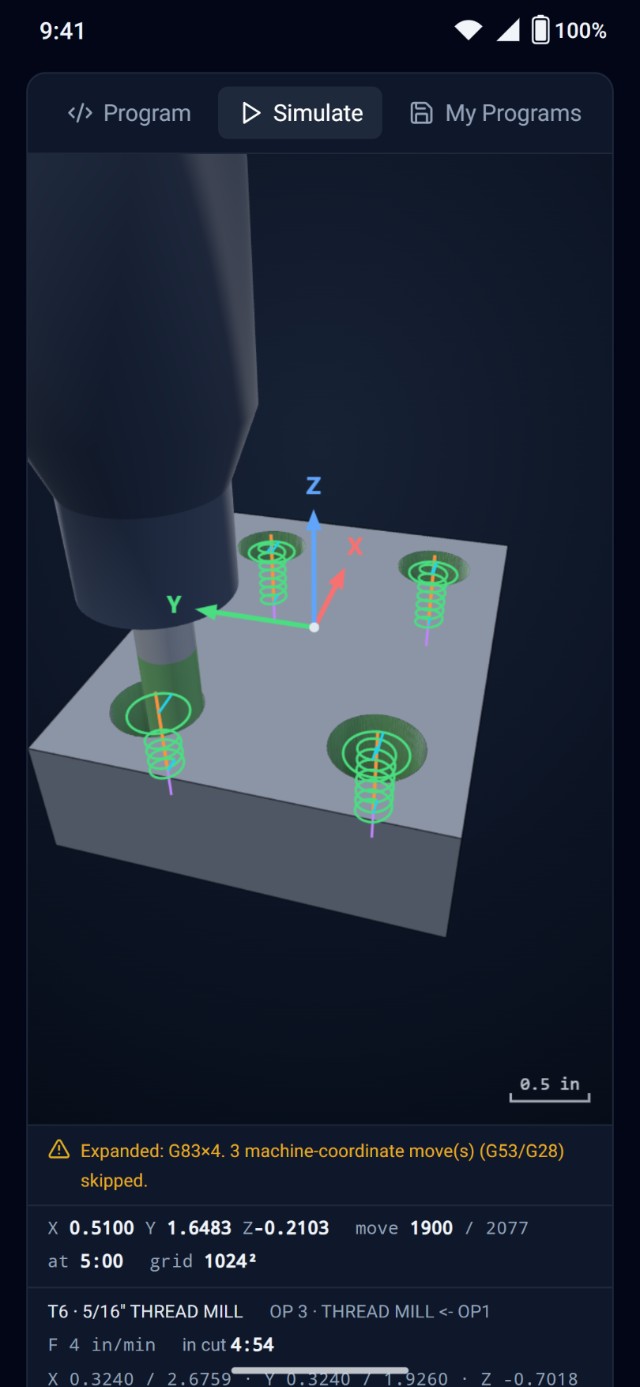
The program plays back on a solid part. Every machined surface takes the colour of the tool that cut it, the tool and its holder ride along at the current move, and a section plane opens the part up to show what is inside. Scrub the timeline, change the speed, orbit the part with a finger.
It reads the cycles the control does — G71 roughing including Type II undercuts, G70 finishing, G76 threading, the drilling cycles, polar and cylindrical interpolation — expanded into the passes the machine would really make, with an estimate of the cycle time.
Step 10
In your language
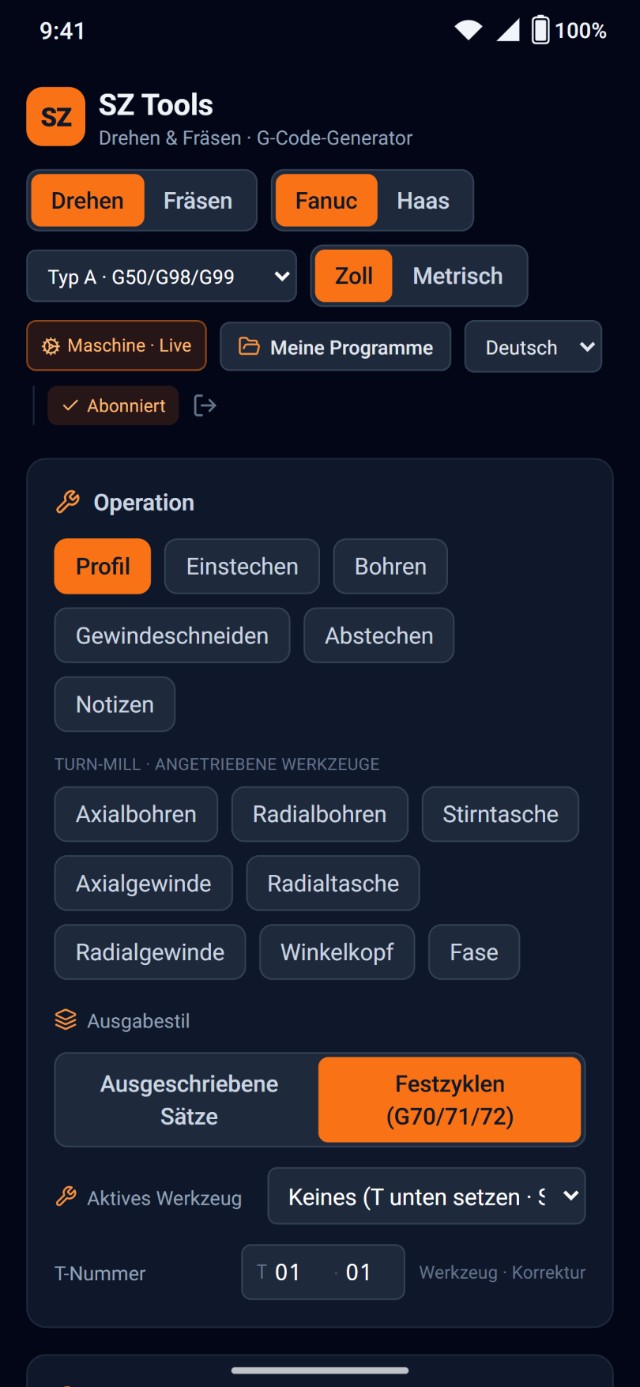
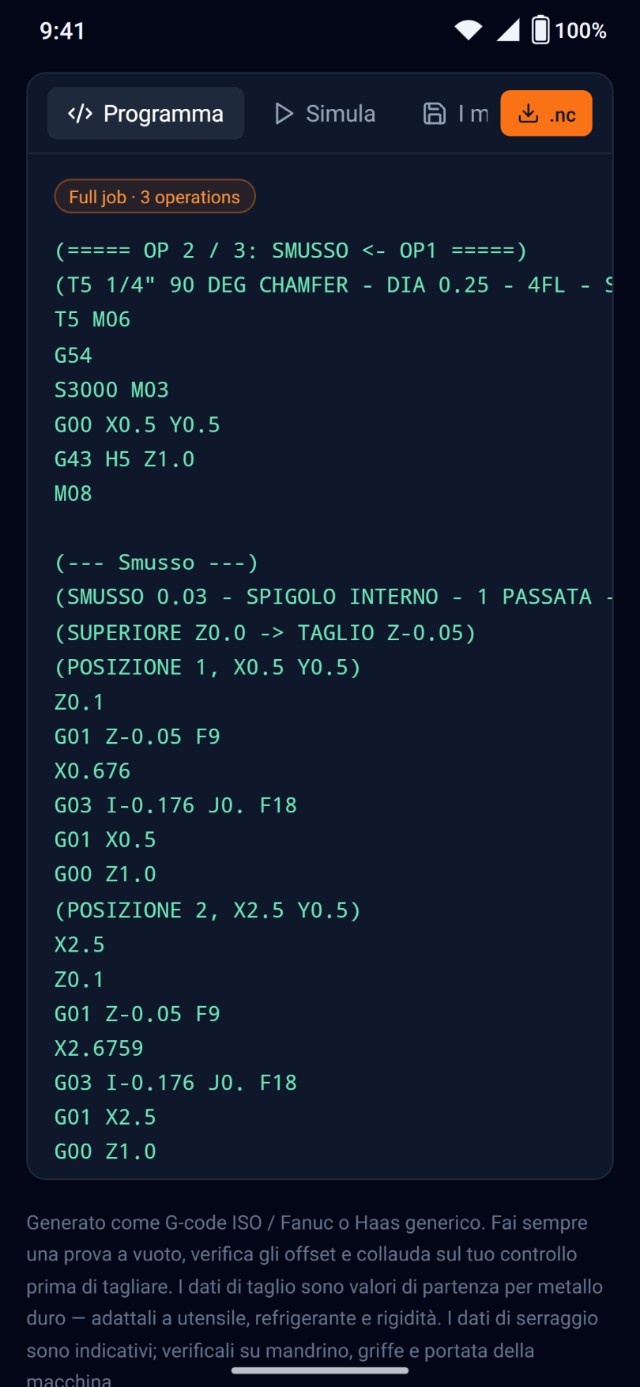
English, Italiano, Español, Deutsch and Français — the screens, and the comments the program posts. The G-code itself is the same in every language.
Step 11
Your libraries, set once
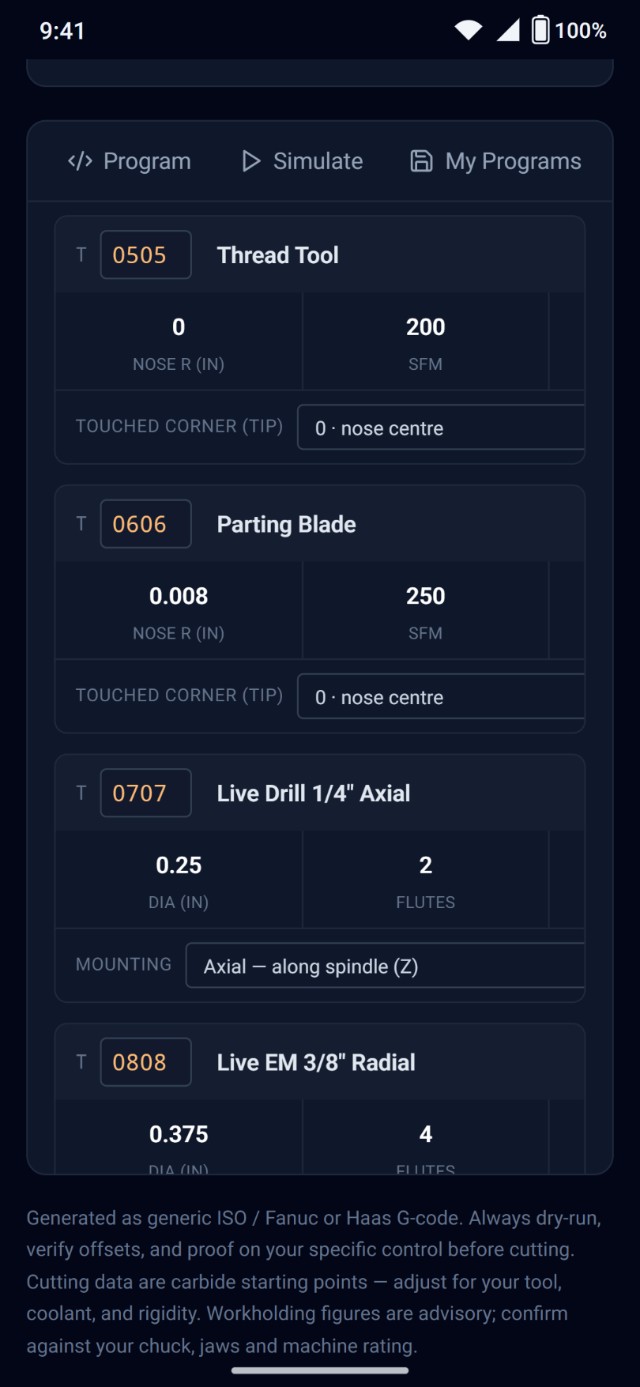
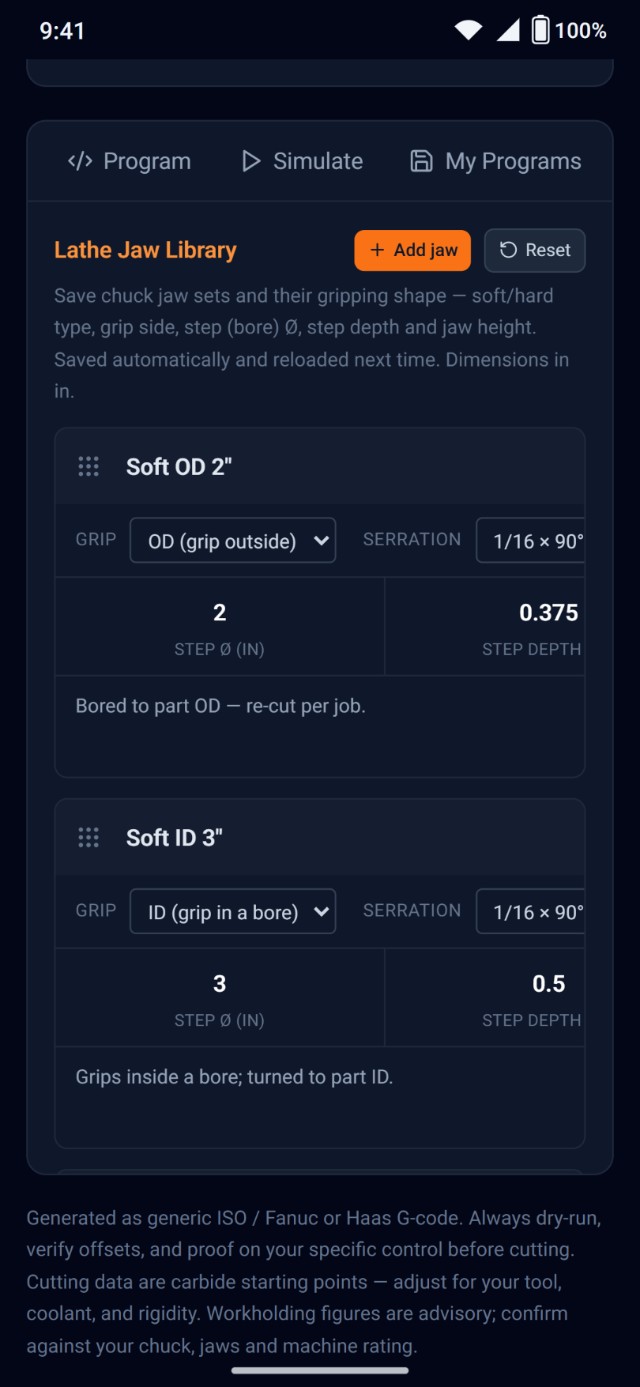
Tools by station and type — turning, boring, grooving and threading tools, drills, and the live tools with the way they are mounted. Chuck jaws by grip side, step diameter, step depth and serration.
They save themselves and sync to your account, so the same libraries are waiting on every device you sign in to.
Step 12
Save it, export it, walk to the machine
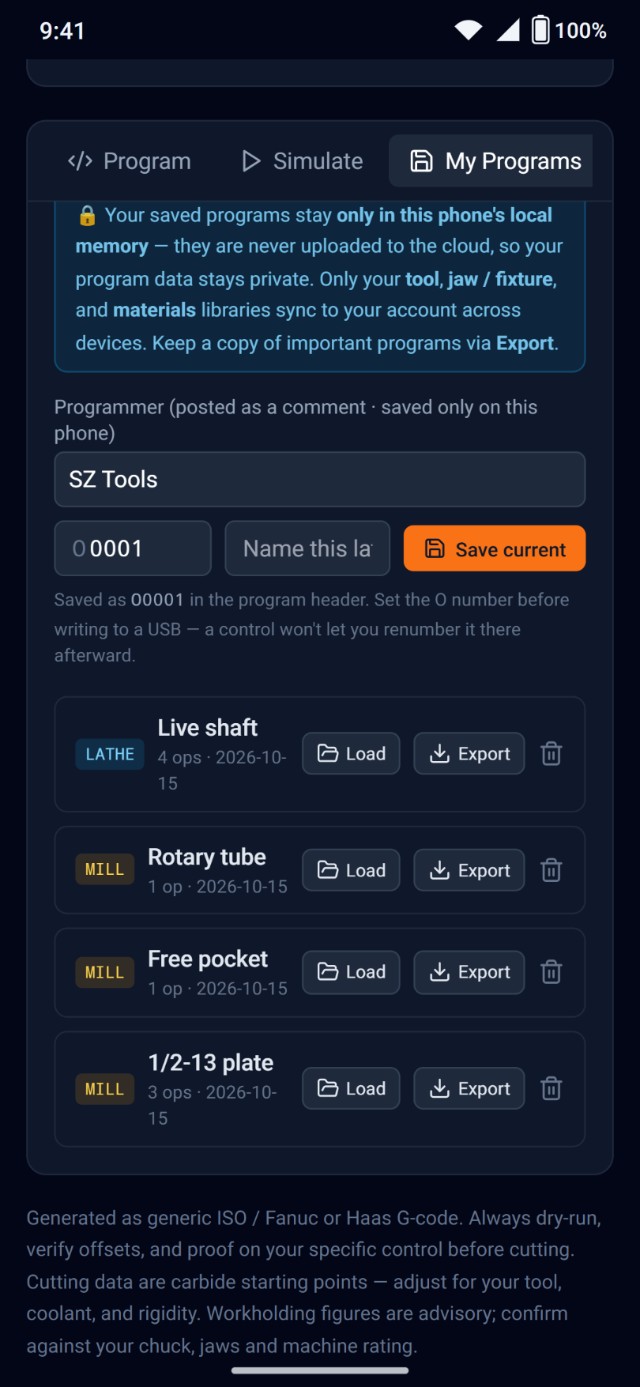
Save the whole setup — machine, parameters, workholding, active tool and the entire job queue — and load it back later. Set the O number before you write it out, because the control won't let you renumber it afterwards.
Export writes a clean .nc file. Pick the folder, including a
mounted USB stick. Your programs never leave the phone.
N27 · How to use
Watch a real part get programmed
Narrated tutorials on our YouTube channel build real parts in the app, from the first setting to the simulator — every field and every choice on screen. Start with the lathe or the mill; each one takes about five minutes.
Watch on YouTube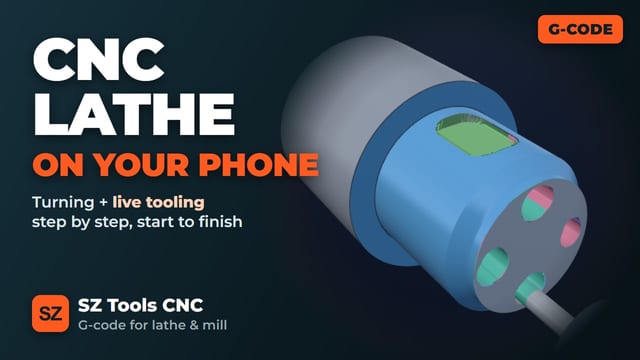 4:42
LatheOD turning and live tooling, step by step
 4:07
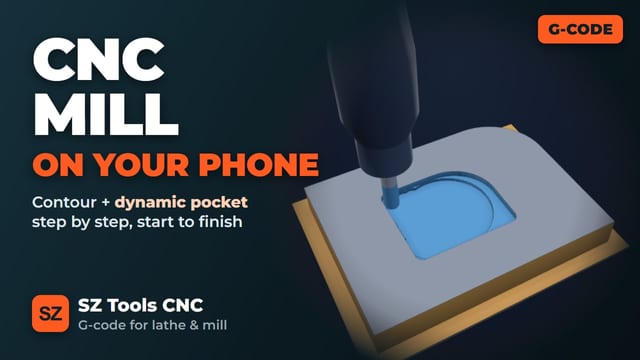
MillContour, dynamic pocket and chamfer, step by step
 4:32
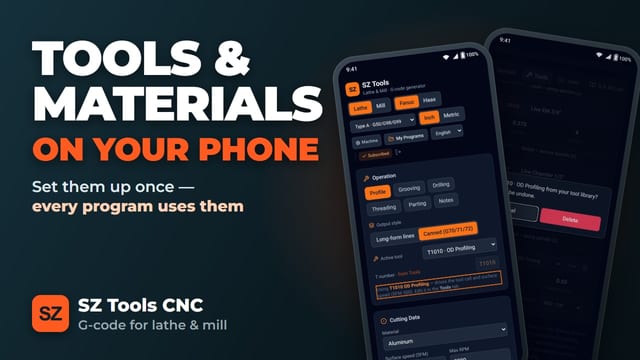
SetupTool library and materials: set up once, used in every program
 6:11
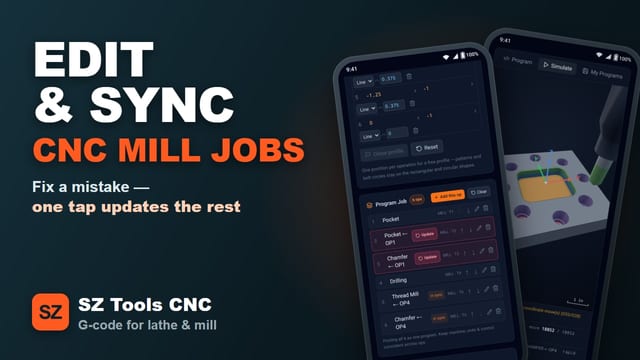
MillReorder, edit and sync operations in one tap
 6:01
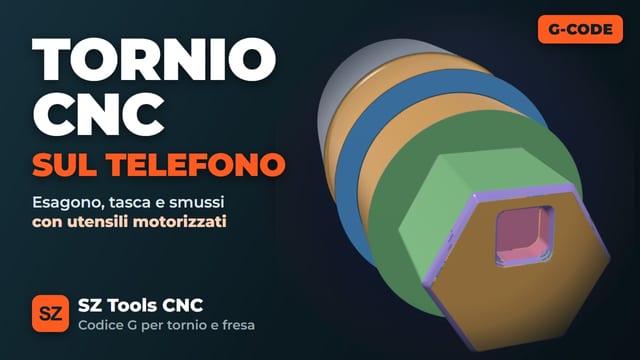
Lathe · ItalianoTornio: esagono, tasca e smussi con utensili motorizzati
 Every tutorial on the channel
New ones go up as the app grows — subscribe to catch them.
youtube.com/@SZToolsCNC →N30 · Price
Build it free. Subscribe to post it.
- Build and simulate free, with no time limit
- 7-day free trial for new subscribers
- The full program and the
.ncfile - Cancel any time in Google Play or the App Store